ScrawlrTips
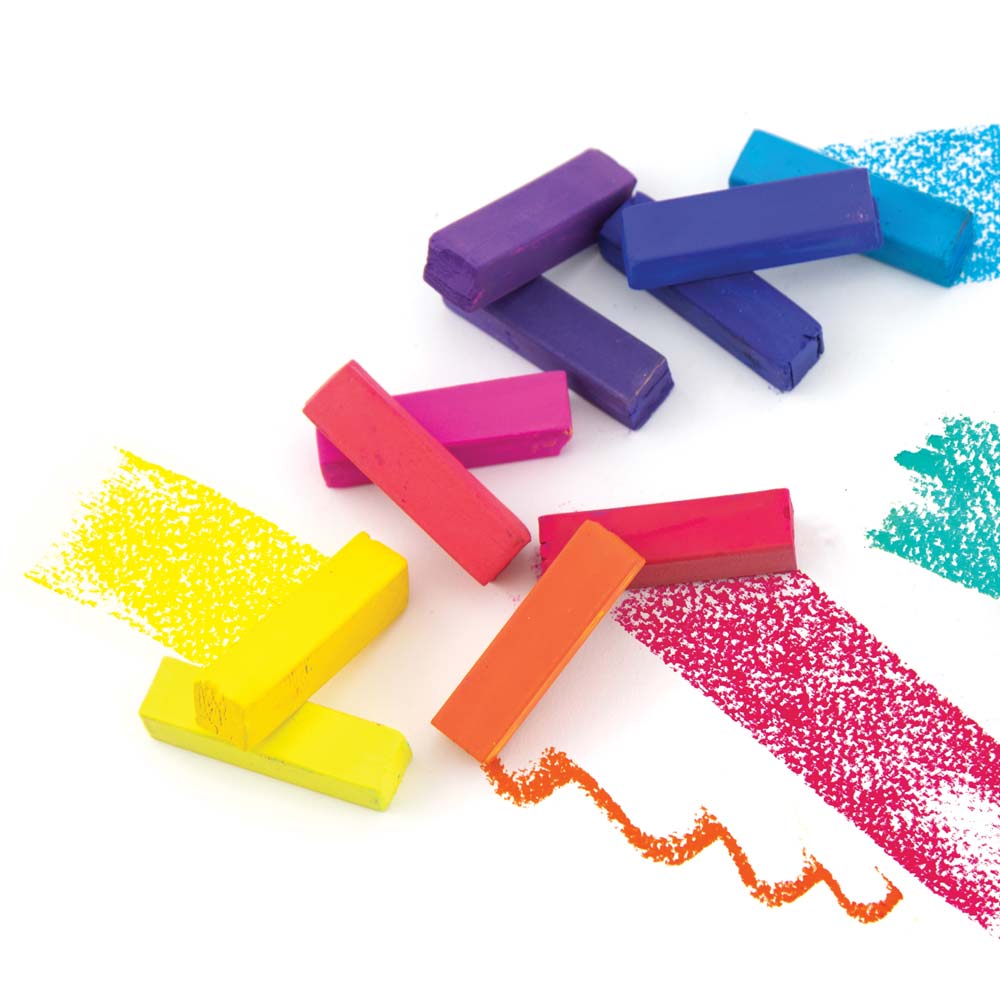
Faber-Castell Creative Studio Soft Mini Pastels
Featured In #099 ScrawlrBox
We realise you may have never seen or used products like this before so we have put together a few hints, tips and techniques to test out and get the best from these supplies.
With the whole rainbow to play with, the only limit is your imagination! These half-length soft pastels from Faber-Castell are mini in size but not in nature. The strong, vivid pigment packed colours offer a silky smooth flow of colour to the page.
They are super easy to mix, blend and smudge even when using your fingers. Due to the vivid results to the perfect for quick and easy sketching.
For preserving your pastel work, you should spray it with a fixative after completion.
Watch The Tips & Tricks Video Here
Things To Try...
Swatch! The harder you press, the more intense. Play around with pressure to see what tones you can create.
You can use the shape of these pastels to create lots of different strokes. Turn the pastel while drawing to switch up the mark making; use the tip for fine lines, use the edge for thicker lines. The wide edge is great for filling in large areas.
Pastel drawings can be tricky to get the hang of at first so here is a little general order of how to use on your page:
- Sketch outline and apply first layer of colours.
- Blend layers and refine areas- New layer is for define details.
- Add white and final details. Ideally you will need to apply a fixative to finish your piece and prevent smudging.
If you don’t have a fixative you can se hairspray or a sheet of tissue paper to cover your work to try to stop the pigments from smudging too much.
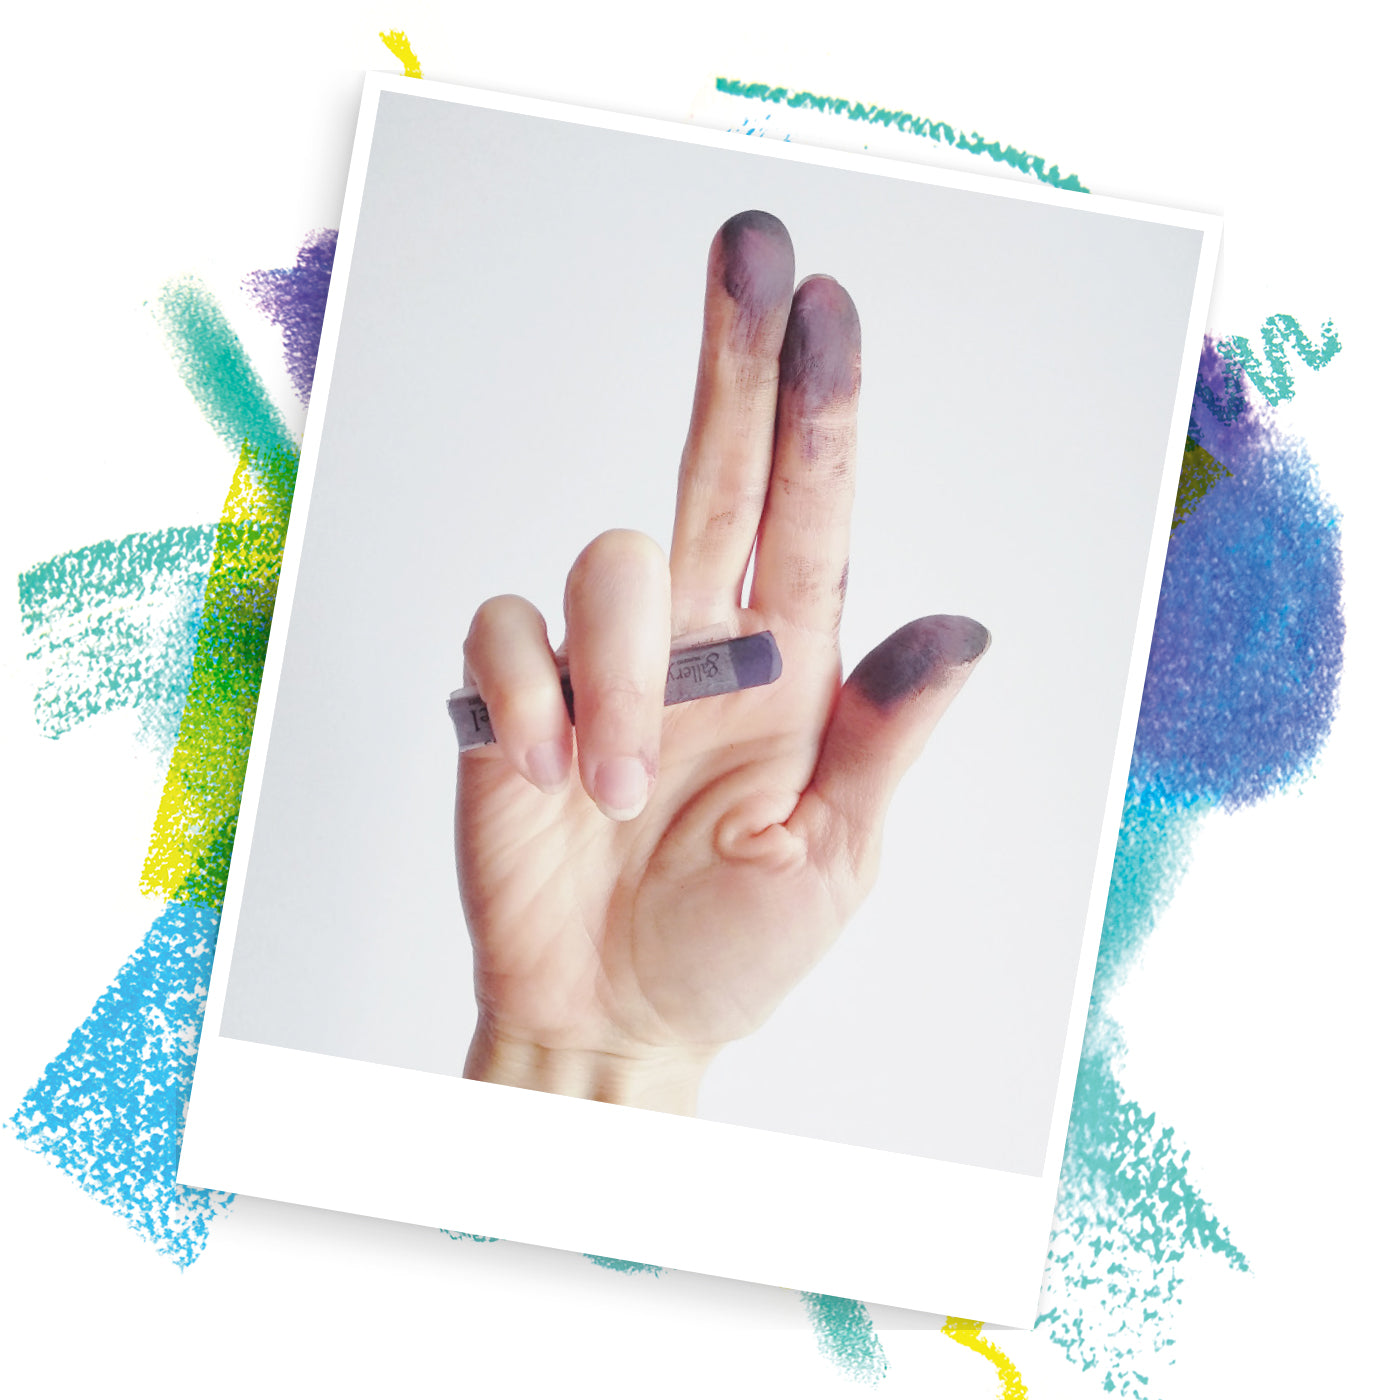
Softly Does It. Looking for a softer effect? Scrape off some pigment from the pastels. You can use a craft knife or a sand paper block to do this. Apply the pigment directly to your page or scrape it onto a separate piece of paper to collect the pigment. You can then blend with your finger or a dry soft paint brush.
Hatching. Hatching can bring your image to life adding those all important visual elements. Gently make your hatch marks in one direction to build up tone. Switch up the angle you hatch to create some texture. You can even mix colours by over lapping hatching.
Gradients. Apply the colours you want beside each other.Then blend the colours together where they meet, preferably using a tissue or a blending stump. The paper stump's tip allows you to work on small areas
